How to Put On Tight Knee Sleeves: 3 Proven Methods (With & Without Bags)
Your complete coach-to-athlete guide for getting 7mm neoprene sleeves on fast — without tearing your skin or burning your grip before a PR attempt.
The Struggle Is Real — And It Is Worth It
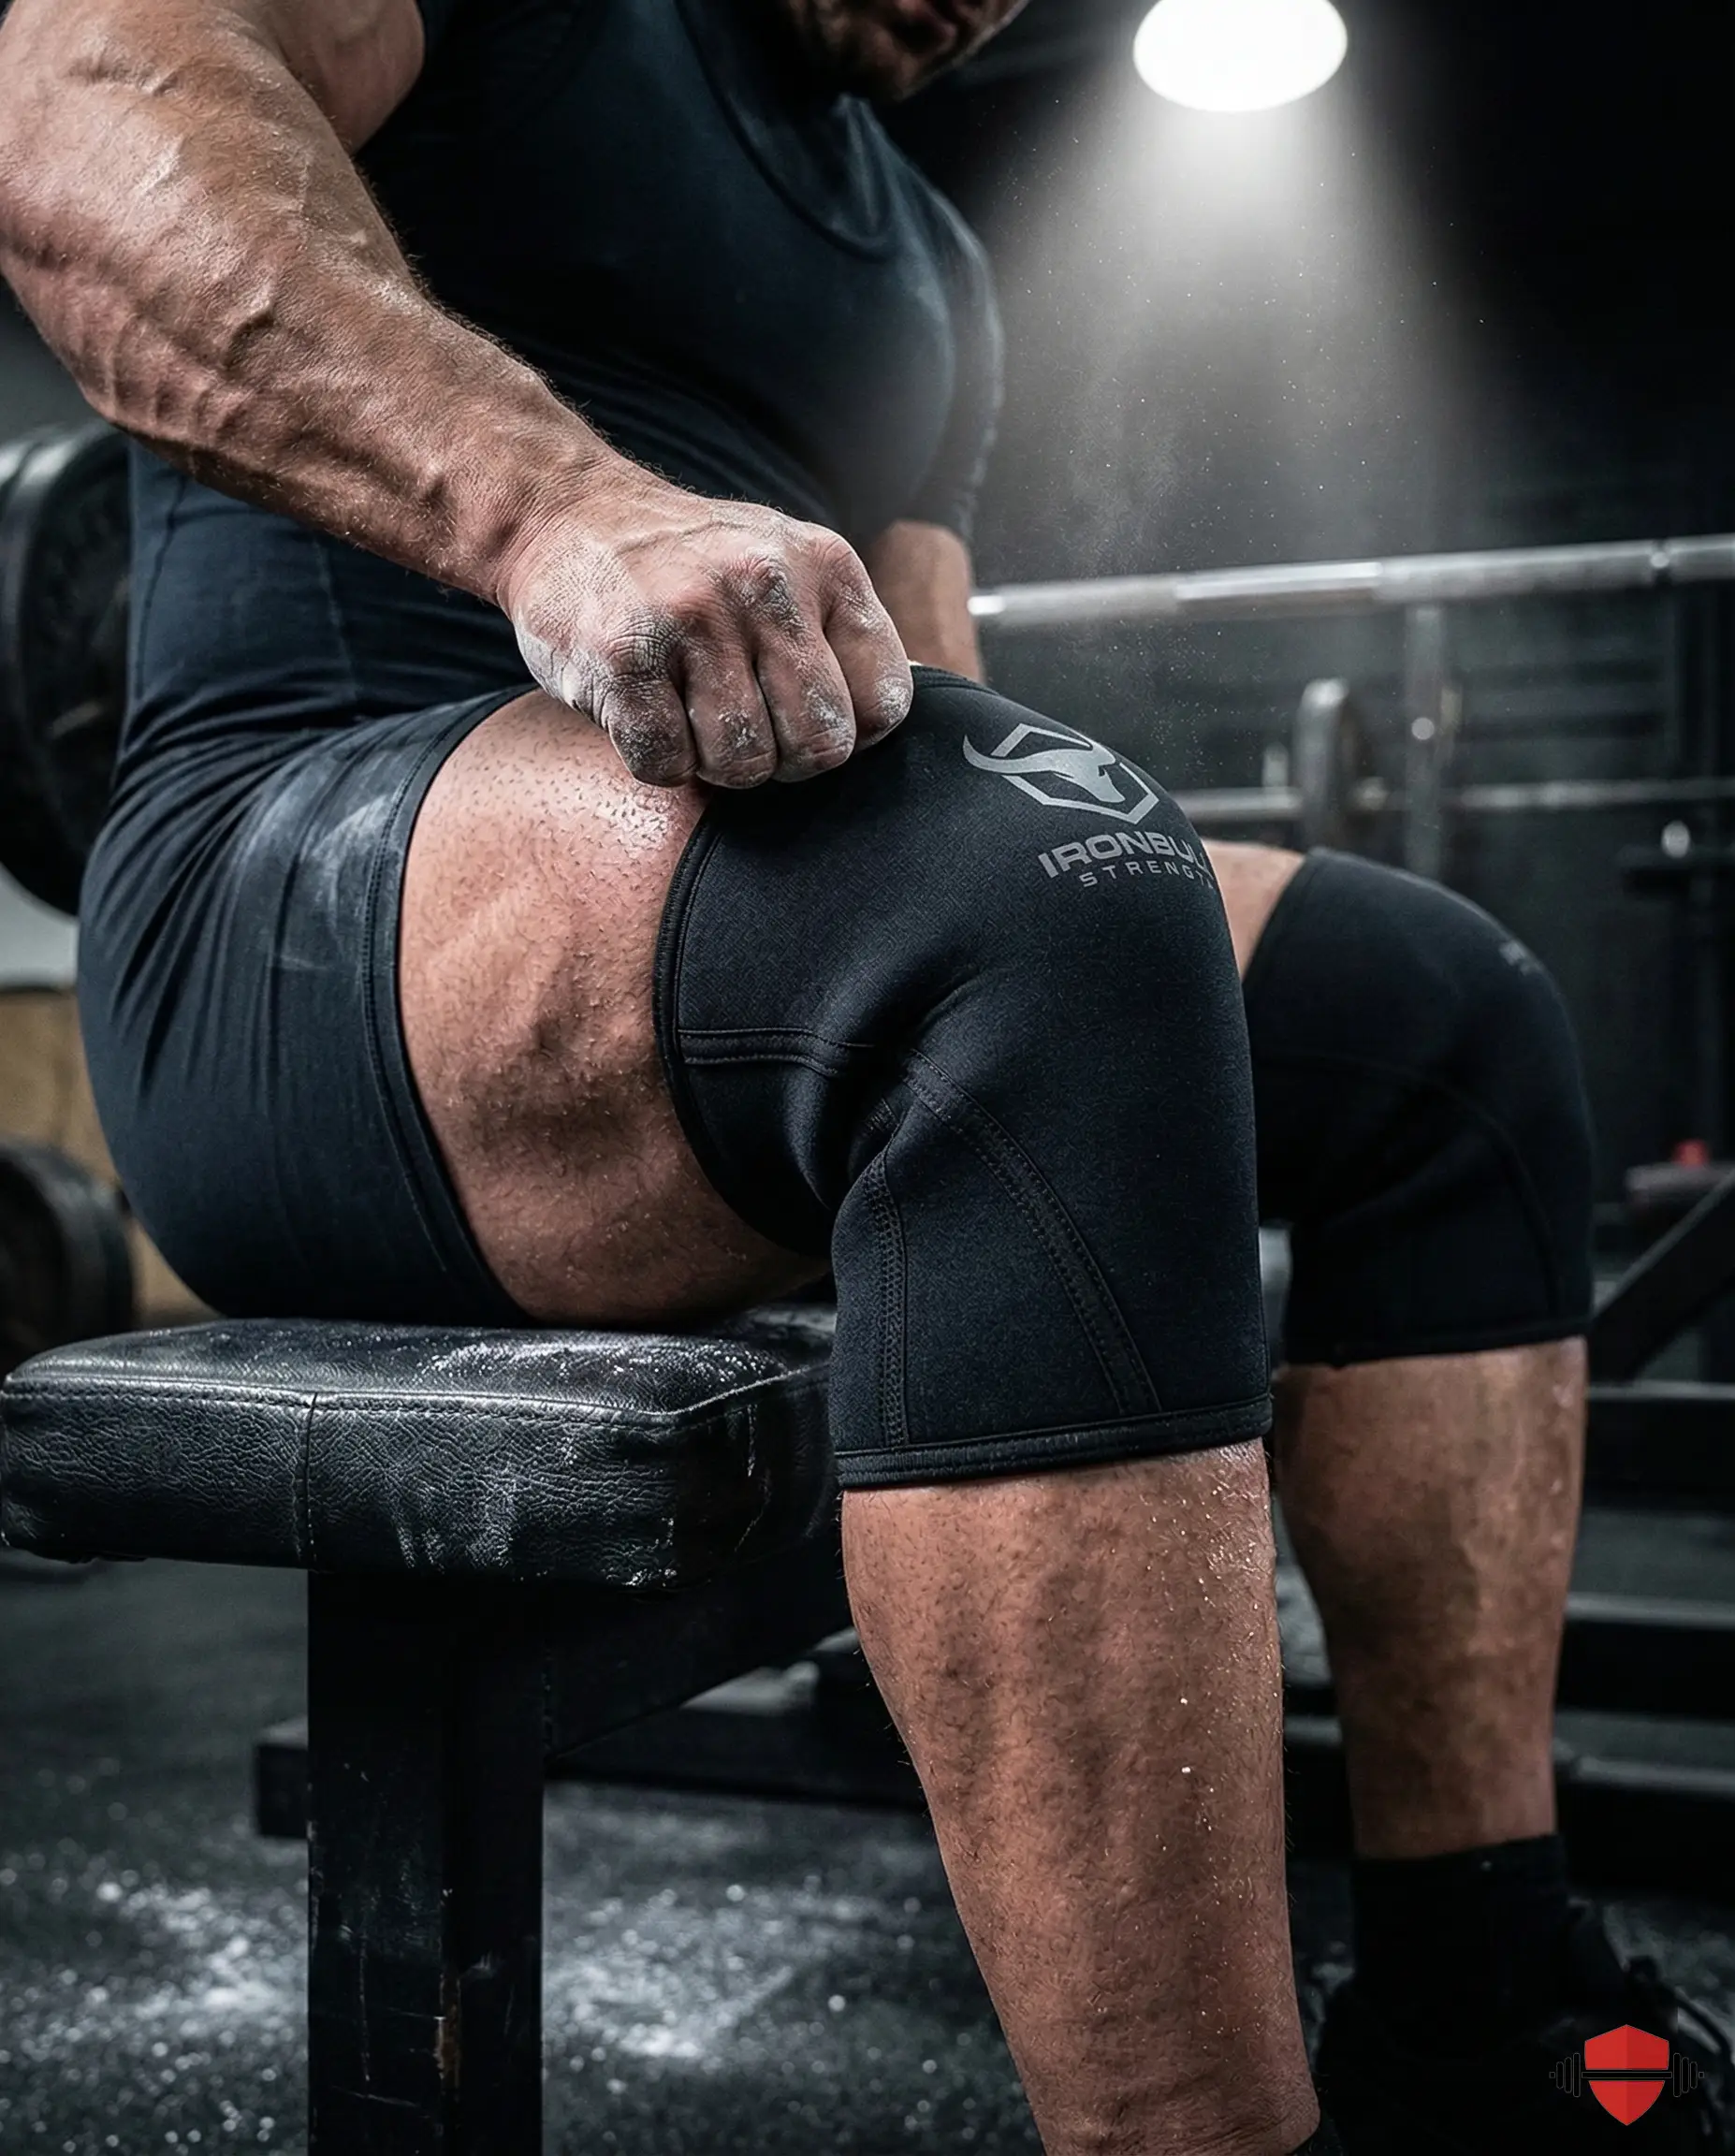
You sized down for maximum compression. That was the right call. A tight sleeve generates more heat, provides better proprioceptive feedback, and — in competition — gives you every legal edge you are allowed to have.
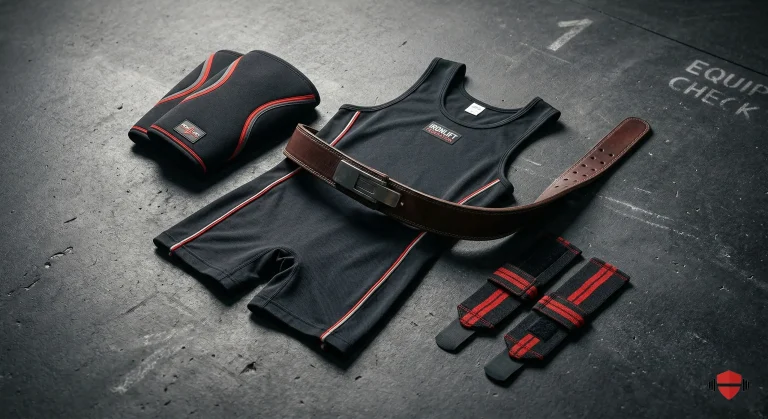
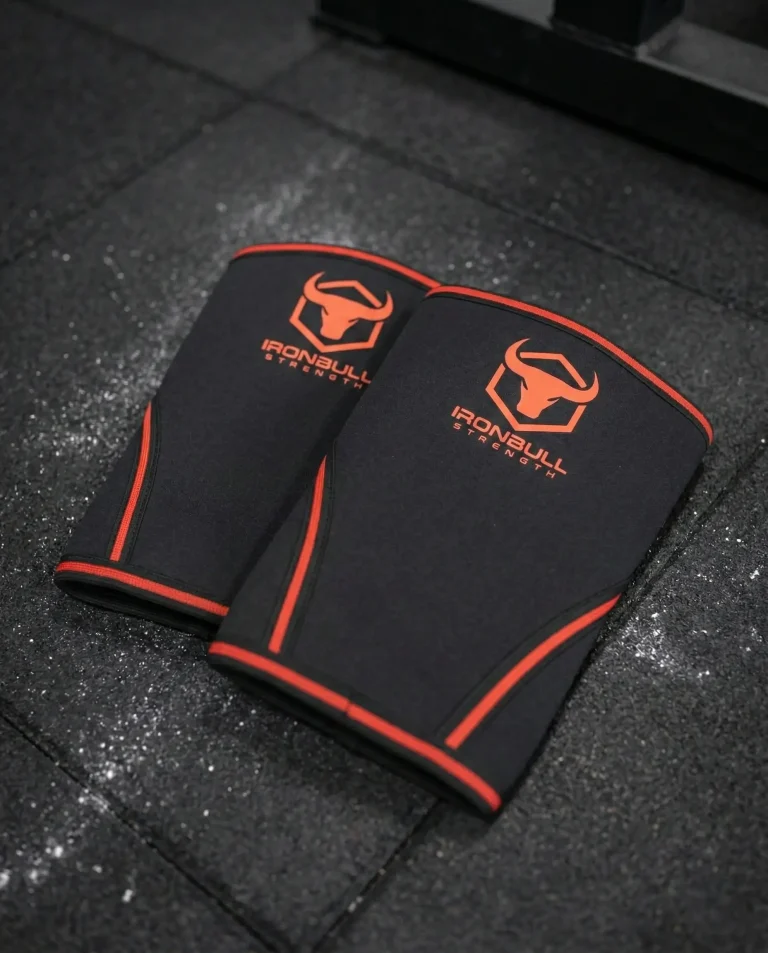
The trade-off? Getting a 7mm neoprene sleeve over a muscular calf can feel like trying to pull a wetsuit over a tree trunk. Athletes using SBD, Iron Bull, or Gymreapers sleeves know exactly what this feels like.
But here is the thing: doing it wrong has real consequences. Yanking at the top edge risks tearing the seam stitching over time. Forcing it on over sweaty skin creates painful friction burns. And wrestling with your sleeves for five minutes before a squat attempt wastes energy and spikes cortisol right when you need to be calm and focused.
These three methods fix all of that. Learn them. Practice them at home. Pick the one that fits your leg shape and your sleeve stiffness — then make it automatic.
💡 PRO TIP: Practice your sleeve application method at home before your first competition. A method that takes 4 minutes the first time should take under 60 seconds once it is muscle memory.
Method 1: The Standard Fold
The Traditional Way — Reliable for most 7mm sleeves
How It Works
This is the baseline method. It works by reducing the effective circumference of the sleeve before you ever try to pass it over the widest part of your calf. Simple, effective, and requires no equipment.
Step-by-Step
- Sit down on a bench or chair. Do not attempt this standing — you need control, not balance.
- Turn the sleeve completely inside out. Fold it from the top down until it is fully inverted.
- Step your foot through the inside-out sleeve. Position the base of the sleeve just below your ankle.
- Grip the folded cuff with both hands — thumbs inside, fingers outside. Keep your grip on the body of the sleeve, not the edge.
- Work the sleeve up over the calf in short, alternating pulls. Left side, right side, left side. Do not try to pull it up in one motion.
- Once the bottom edge clears the widest point of your calf, flip the remaining folded section upward over your knee. It should snap into place.
- Adjust the sleeve so the center sits directly over the kneecap.
Best For
- Standard 7mm neoprene sleeves in a broken-in state
- Athletes with proportionate calf-to-knee measurements
- Situations where no additional tools are available
⚠️ SAFETY NOTE: Always grip the body of the sleeve — never the rolled cuff edge alone. Pulling only the edge concentrates stress on the seam and will eventually delaminate the stitching on premium sleeves.
Method 2: The Double Fold
The ‘Pro’ Leverage Method — For Extremely Stiff or Brand-New Sleeves
How It Works
Brand-new sleeves — especially SBD 7mm competition sleeves — can be nearly board-stiff out of the packaging. The standard fold does not give you enough control. The double fold compresses the sleeve into a tight disc at the midpoint, giving you far more leverage and dramatically reducing the force needed to get it over the calf.
Step-by-Step
- Sit down. Take the sleeve and fold the top edge down toward the center — about halfway.
- Now fold the bottom edge up toward the center until both folds meet in the middle. You now have a thick, compressed disc of neoprene.
- Hold the disc flat and step your foot through the center hole. Place the double-folded sleeve just above the ankle.
- Grip the outer fold (the bottom half you folded up) and begin working it upward over the calf using short, rocking side-to-side pulls.
- Once the bottom section clears the calf, grip the upper fold and roll it up over the kneecap.
- Both folds should unroll and snap into the correct position. You will feel a firm, satisfying lock.
- Check alignment: the center of the sleeve should sit directly over the patella.
Best For
- Brand-new, stiff sleeves that have not yet been broken in
- Athletes with large calf development relative to knee circumference
- Competition-spec sleeves at their maximum compression rating
💡 PRO TIP: New SBD sleeves can take 10–15 sessions to fully break in. Use the double fold for the first month. Once they soften slightly, the standard fold becomes faster.
Method 3: The Plastic Bag / Slippery Sock Trick
The Ultimate Hack — Fastest Method for Any Sleeve Stiffness
How It Works
This is the method competition veterans use. The physics are simple: the primary obstacle to sliding a knee sleeve up your leg is friction between neoprene and skin. A thin plastic layer reduces that friction coefficient dramatically — the sleeve glides over the bag instead of gripping your skin, and the bag pulls out cleanly once the sleeve is in place.
You can use a standard plastic grocery bag, a thin produce bag, or a purpose-made “slippery sock” (a smooth-fabric knee-high sock worn just for this purpose and immediately removed).
Step-by-Step
- Sit down. Place a plastic grocery bag over your foot and pull it up over your shin. The bag should cover from toes to just below the knee.
- Hold the sleeve in the standard orientation (right-side out). Bring it to the ankle, just above where the bag starts.
- Using both hands on the body of the sleeve, work it upward over the bagged shin. It should move with notably less resistance than bare skin.
- Continue working the sleeve up until it sits correctly over the knee.
- Reach inside from the top of the sleeve and grip the plastic bag.
- Pull the bag straight down and out through the bottom of the sleeve. It will slide out cleanly.
- Adjust the sleeve position over the kneecap. Done.
Why This Works (The Science)
Neoprene has a high coefficient of friction against human skin — it is designed to grip. Plastic has an extremely low friction coefficient against both neoprene and skin. You are not just lubricating the surface; you are completely changing the material interface. The result is that a sleeve that might take 3 minutes of struggle with bare skin can be applied in under 20 seconds using this method.
Best For
- Any sleeve, any stiffness level
- Athletes in time-sensitive competition environments
- Lifters with large calves or who perspire heavily
- Anyone who wants the fastest, most repeatable method available
⚠️ SAFETY NOTE: Do NOT use oil, lotion, or petroleum-based products as a substitute for the plastic bag. Oil degrades neoprene over time and will cause your sleeves to break down from the inside out. The plastic bag method leaves zero residue.
Common Mistakes to Avoid
These are the most frequent errors coaches see athletes make — at the gym and on the platform. Some are just inefficient. Others will shorten the life of expensive gear.
| The Mistake | Why It Happens | The Fix |
| Using lotion or oil | Athletes assume lubrication helps | Use the plastic bag method instead — zero product contact |
| Pulling only the top edge | Feels like the natural grab point | Grip the body of the sleeve, not just the lip |
| Skipping chalk on hands | Easy to forget in pre-lift focus | Keep chalk on your equipment bag handle as a reminder |
| Forcing it on a warm leg | Skin expands slightly when warm | Put sleeves on before your warm-ups, not after |
| Folding incorrectly | Rushing through the process | Practice the fold at home before your first meet |
🚫 AVOID THIS: Never use coconut oil, baby oil, WD-40, or any lubricant directly on neoprene. The polymer matrix in 7mm neoprene is oil-sensitive — repeated contact causes the material to lose density and compression over time. A $150 pair of SBD sleeves should last years. Oil can ruin them in months.
Related: Squat PR Battle: Can Iron Bull or Gymreapers 7mm Sleeves Actually Add Pounds to Your Total?
Pro Tips for Sleeve Longevity
Getting them on is only half the equation. How you care for your sleeves determines how long they hold their compression — which directly determines how much they continue to help your lifts.
After Every Session
- Turn them inside out immediately after removing them.
- Air-dry at room temperature — never in direct sunlight or near a heat source. Heat breaks down neoprene foam cells.
- Do not store them while damp. Moisture trapped inside accelerates bacteria growth and degrades the material.
- Once dry, store them flat or loosely rolled — never tightly compressed for extended periods.
Before Your Session
- Put your sleeves on before you begin warming up — before your body temperature rises and before your legs get pumped. Cold, un-pumped legs are smaller and easier to sleeve.
- Keep your hands dry. Chalk your palms lightly before applying. Sweaty hands lose grip on neoprene instantly.
- Do a quick visual check of the seams before every session. Catching a fraying seam early allows for repair. Ignoring it leads to a full blowout mid-competition.
At the Laundry
- Hand-wash in cold water with a small amount of mild, unscented soap approximately every 4–6 training sessions.
- Never machine wash or machine dry.
- Rinse thoroughly — soap residue left in neoprene softens the material over time.
💡 PRO TIP: Label the left and right sleeve with a small mark on the inside cuff using a fabric pen. Many athletes always put the same sleeve on the same leg — the foam compresses asymmetrically to the shape of that specific knee. Swapping sides randomly reduces this adaptive compression benefit.
Bottom Line: Pick Your Method and Make It Automatic
There is no universally ‘best’ method — there is only the method that works for your leg shape, your sleeve stiffness, and the time you have available.
Here is how to think about it:
- If you are new to tight sleeves and have a standard build: start with the Standard Fold. It builds the foundational technique everything else is built on.
- If your sleeves are brand new or extremely stiff: use the Double Fold until they break in. It gives you leverage when raw neoprene is fighting you.
- If you want the fastest, most reliable method for competition day: the Plastic Bag Trick is the answer. It removes friction from the equation entirely.
Whatever method you choose, practice it deliberately before you need it under pressure. The last thing you want at a national qualifier is to be red-faced and wrestling with your equipment while the clock is running.
Get your gear on fast, get your mind on the lift, and go move some weight.
Now go train. The bar is waiting.
Note: Brand names mentioned (SBD, Iron Bull, Gymreapers) are referenced for illustrative purposes. Always check that your specific sleeve model is approved for your federation before competition day.